I guess this is a bike blog now. I didn’t mean for that to happen, but it seems like it did.
Jill and I decided to use some extra vacation days to try bikepacking for the first time. Or, more accurately, Jill decided that we should use some extra vacation days to try bikepacking for the first time. Either way, we needed some new gear.
Deciding how to pack was a bit tricky since we both have full-suspension bikes without 1) room in the front triangle, or 2) mounting points for racks, bags, or bottle cages. We ultimately decided to get large saddlebags, make use of our handlebars, and cram most of what was left into backpacks.
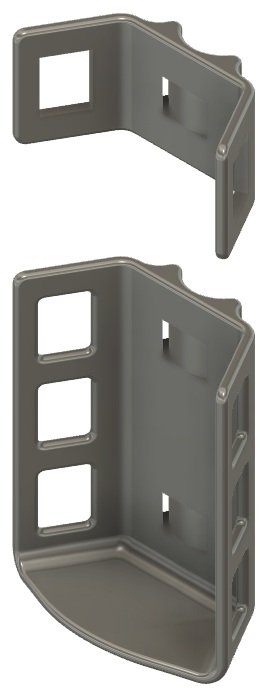
We also decided it would be a good idea to carry some water on our forks. There are a bunch of bottle cages available online that look like they could have worked. But for whatever reason, I decided to make my own. I think I thought that I could do better, somehow, or that I was saving money by printing instead of buying. We could use hose clamps to attach the bottle cages to our forks and ski straps to attach the bottles around the cages. And while the parts worked, kind of, at the end of the day I accomplished neither of my goals. They also broke.
Still, they worked well enough to get us through our first trip. Always a victim of the sunk cost fallacy, I’ve already redesigned these with a few changes for the next trip. The updated bracket incorporates the following learnings:
The flange at the bottom probably doesn’t do much (my bottles remained secure after they broke off). It still has value, though, in keeping the bottle in place while you’re strapping it in. But it can probably be much smaller
The whole setup felt very secure, even after breaking, so the second hose clamp on the bottom piece can probably go
The wings should ideally be shorter and stronger to avoid damage while riding, but also from racks
Besides addressing these issues, the new brackets will take around half the time to print. The image on the left is of the original, and the one on the right is the update:


